
Démarrez votre parcours professionnel en ligne
How to setup AR in to Tessarl App?
Follow below mentioned steps to setup augmented reality into your Tessarl app via Vuforia:
- If you have created an account with Developer Vuforia, login, else Signup
-
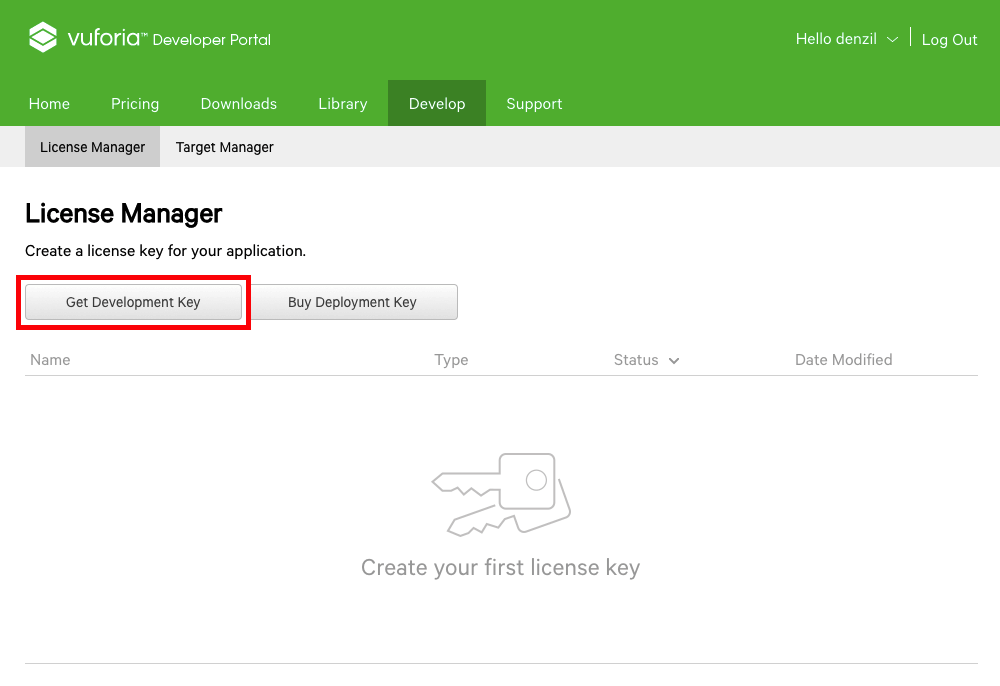
Once you are in Vuforia dashboard, select Develop tab, and click on Get Development Key button
-
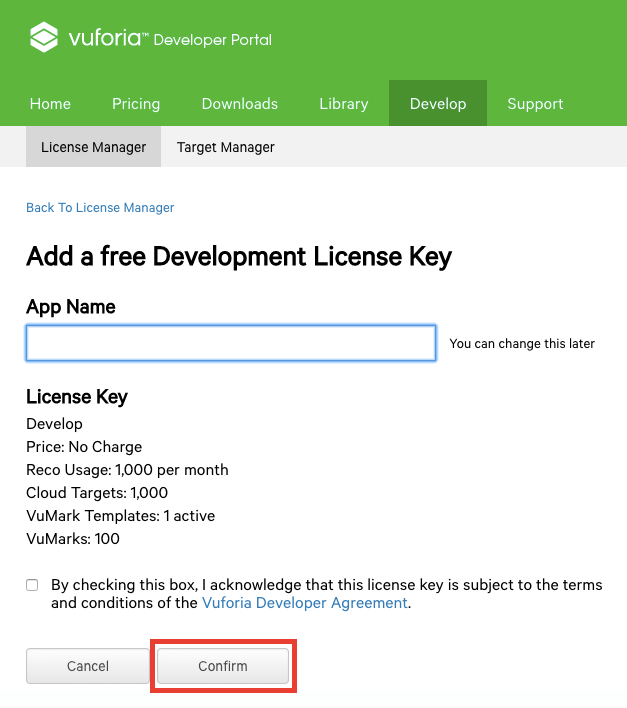
Under Licence Manager, provide an App Name, and click on Confirm to continue.
-
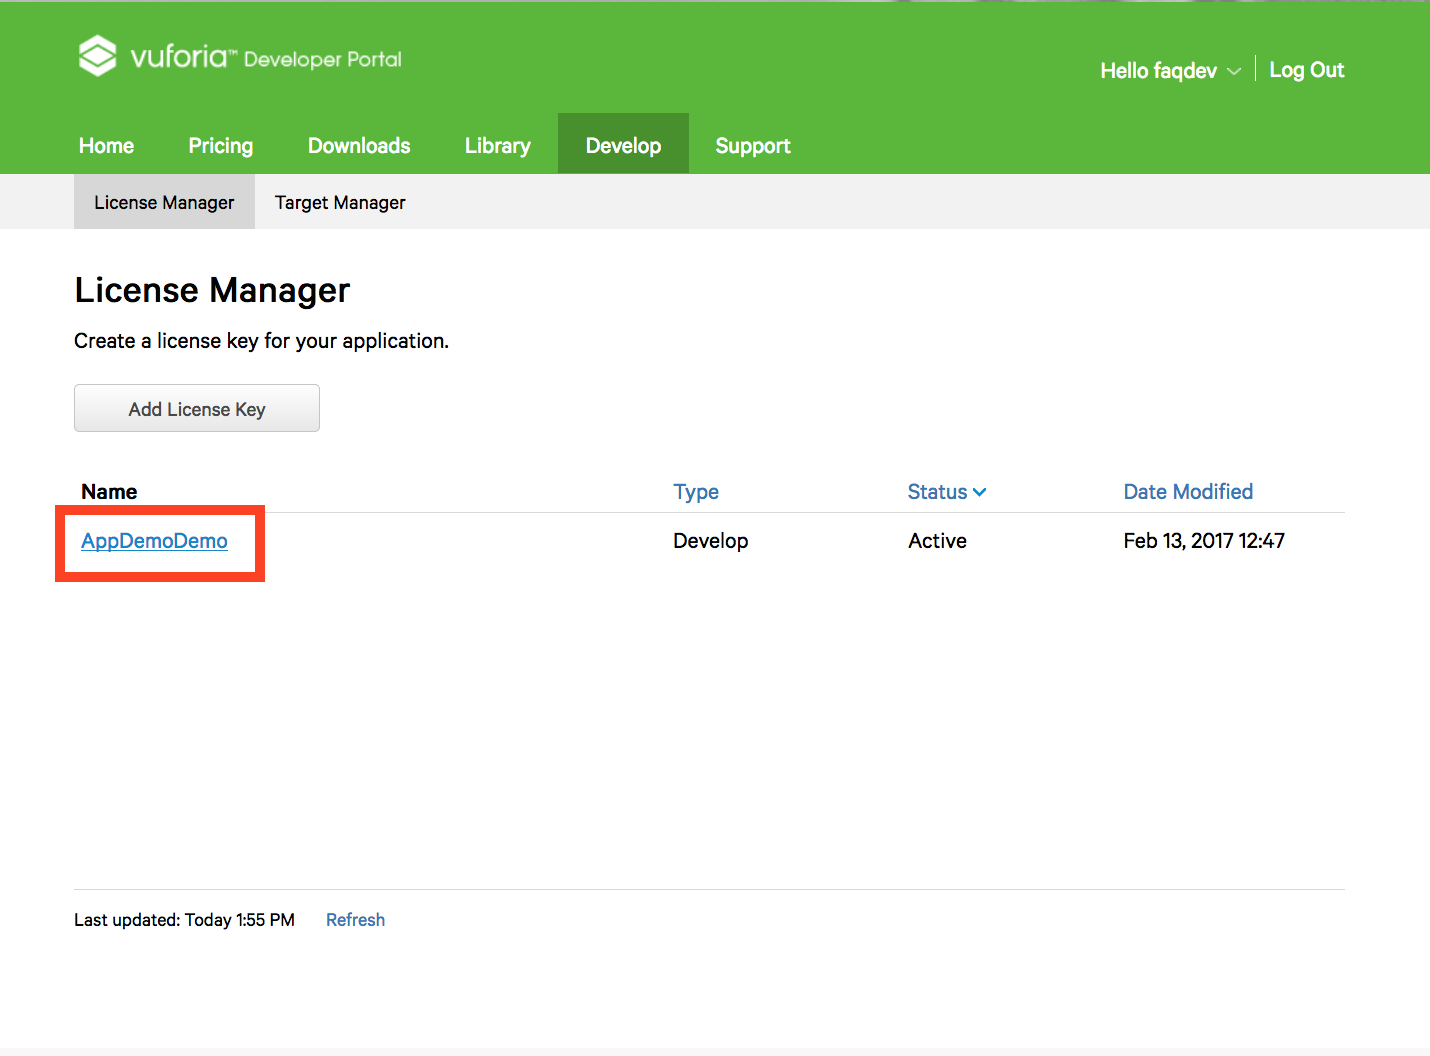
Click your App Name under License Manager tab
-
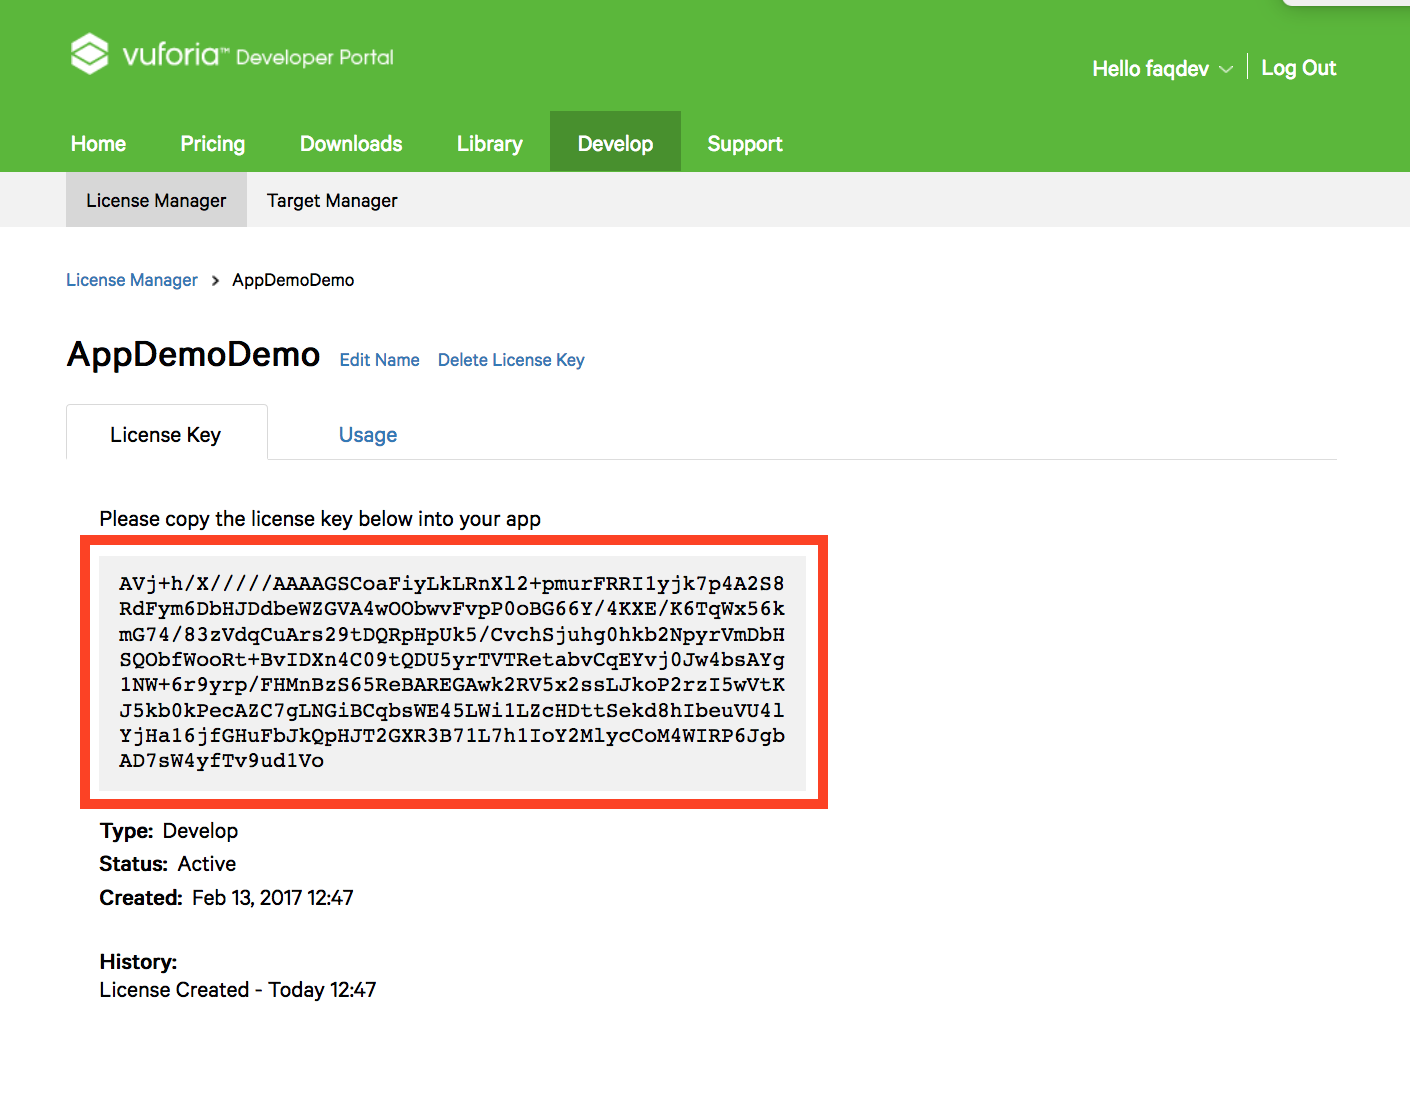
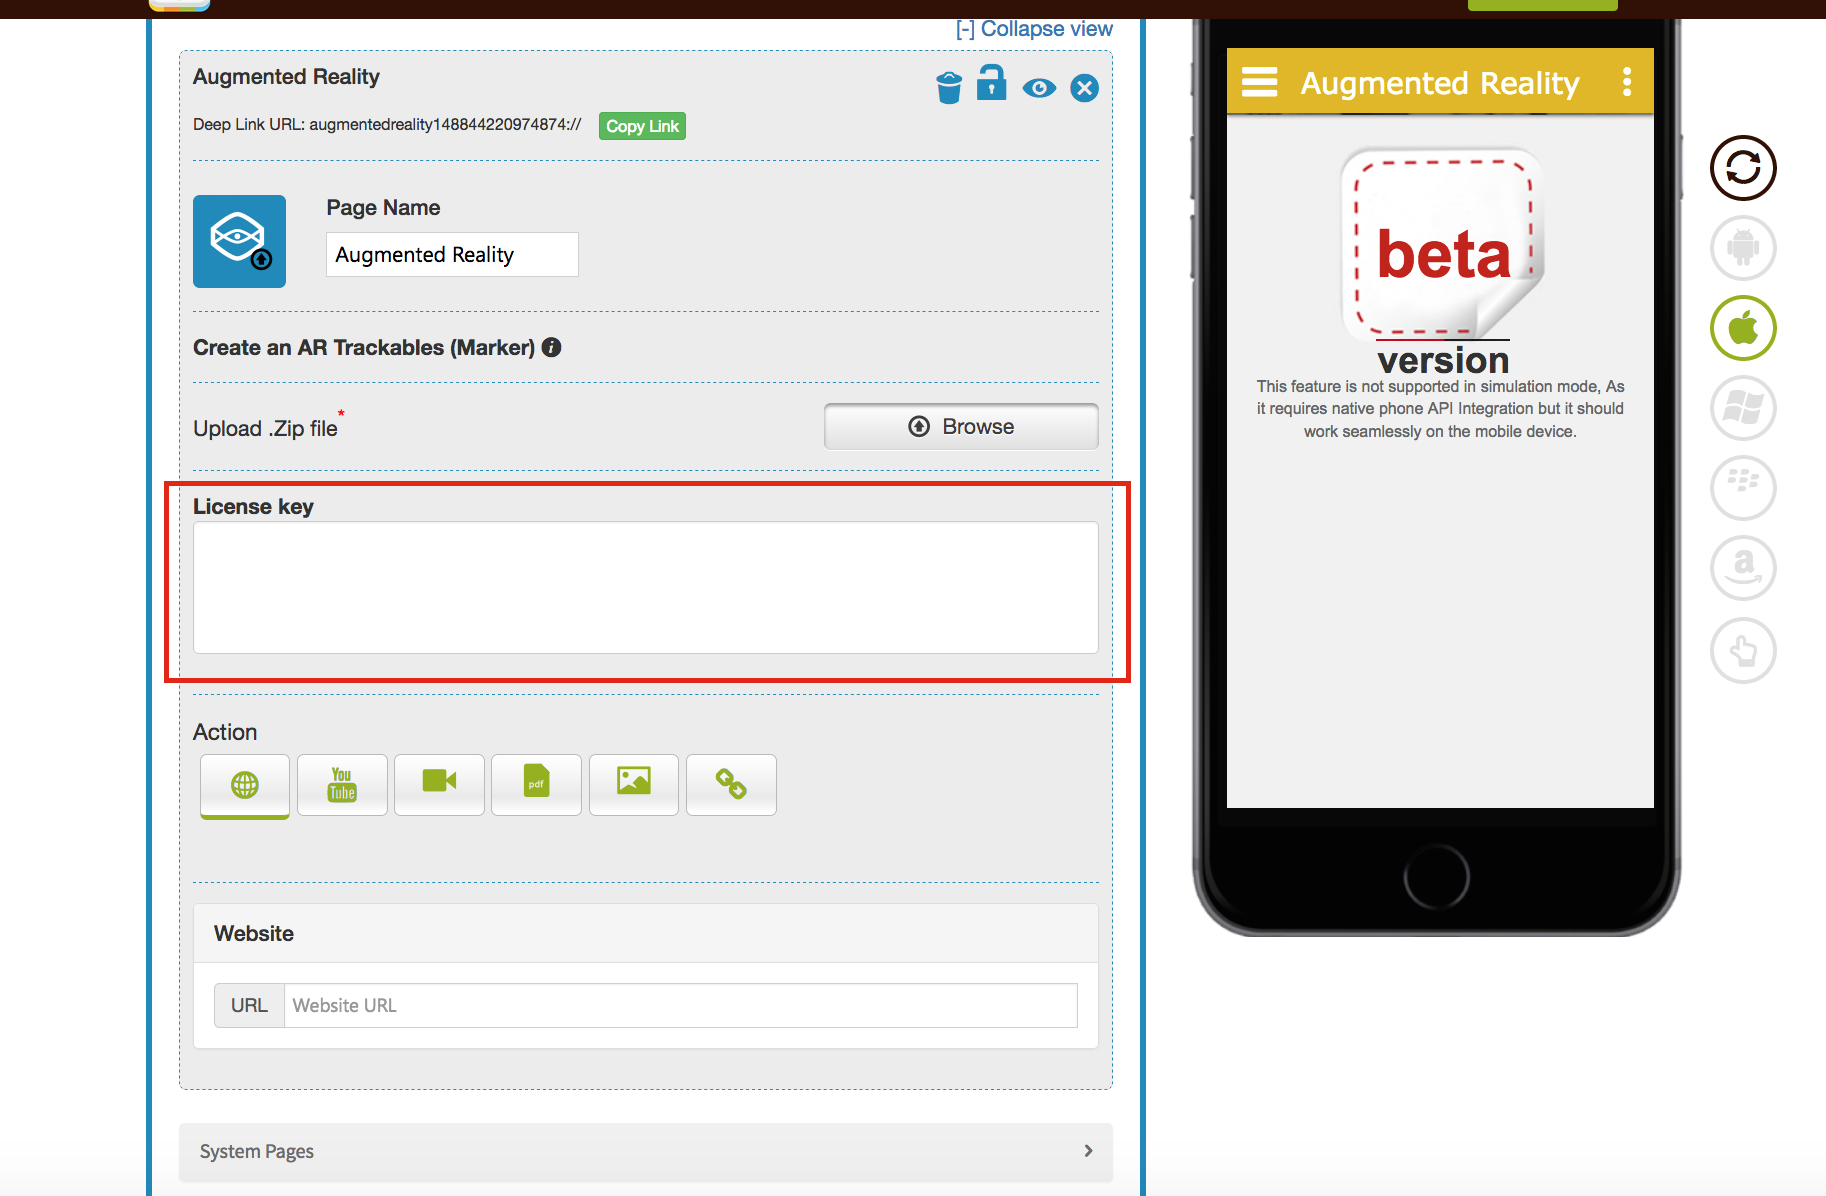
Copy your License Key and paste it into your Tessarl AR page
-
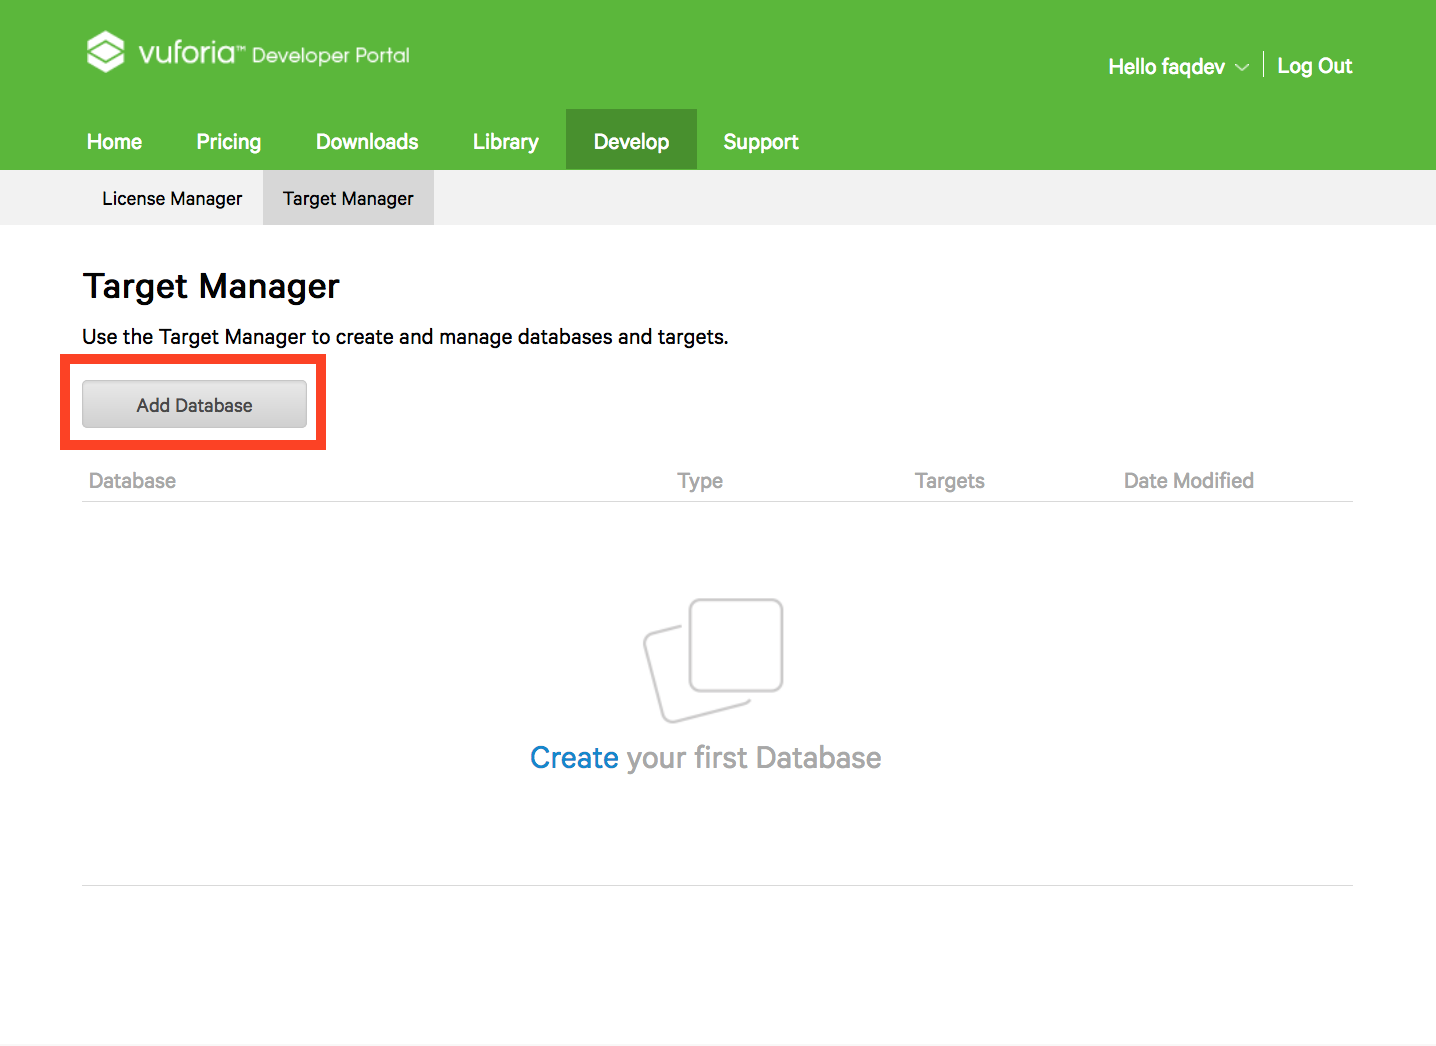
Click on Target Manager tab

-
Click on Add Database button under Target Manager, it will open Create Database dialog box
-
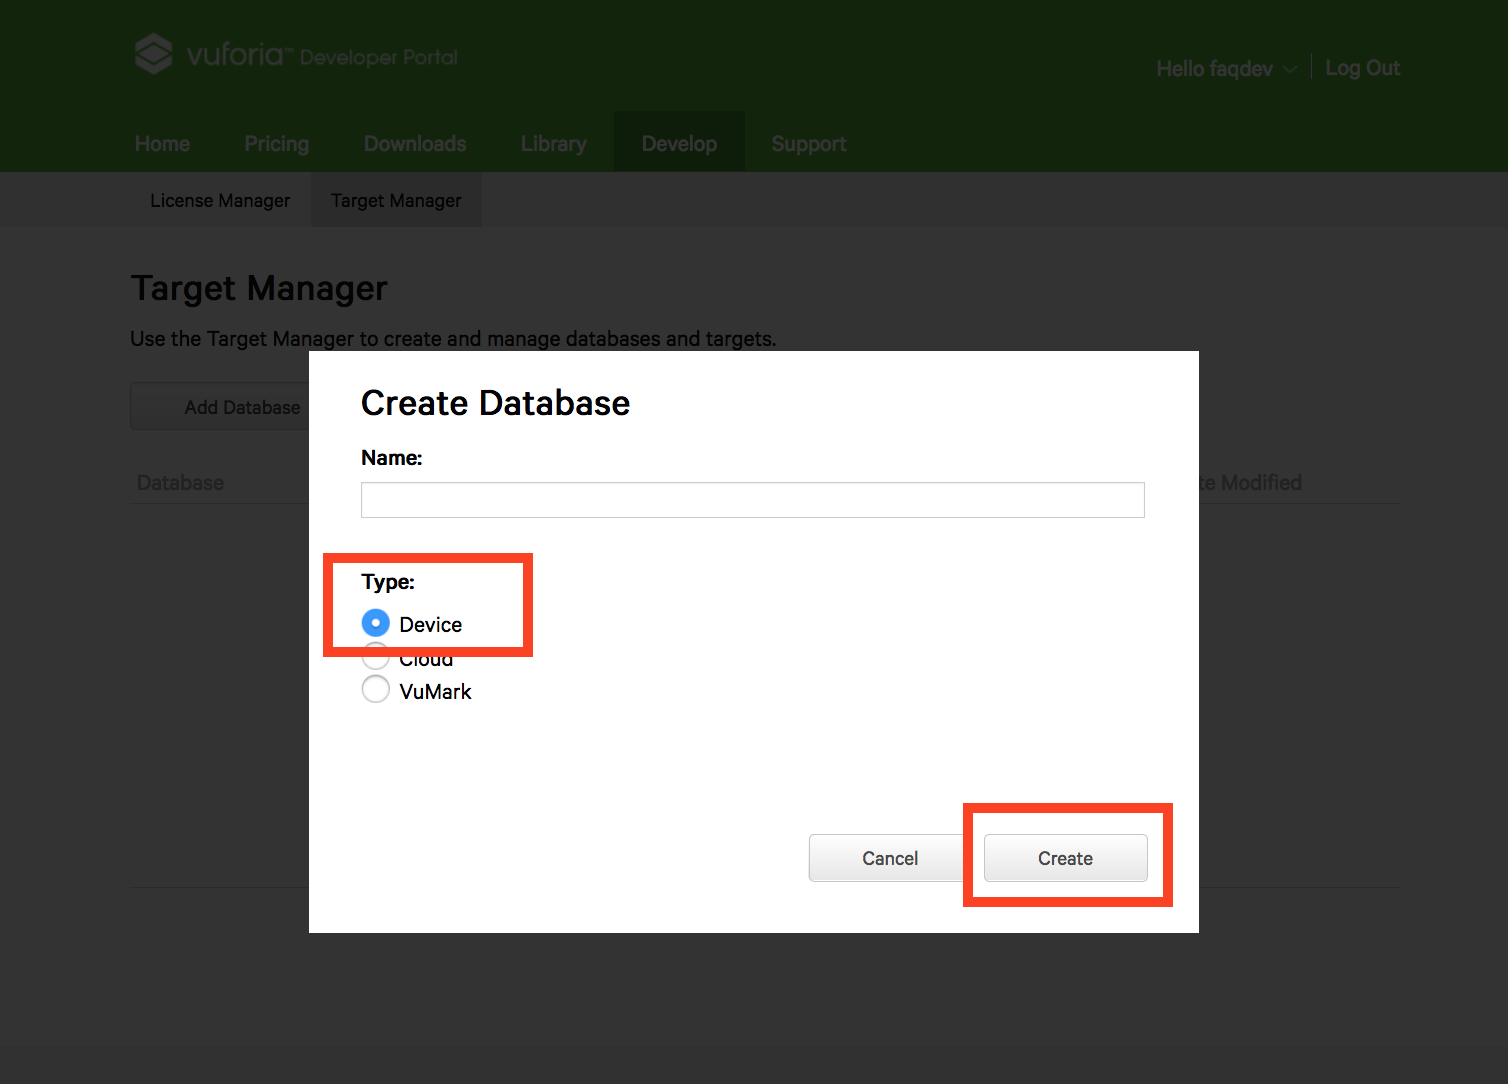
Provide a name to your Database, select Device under Type field, then click on Create button
-
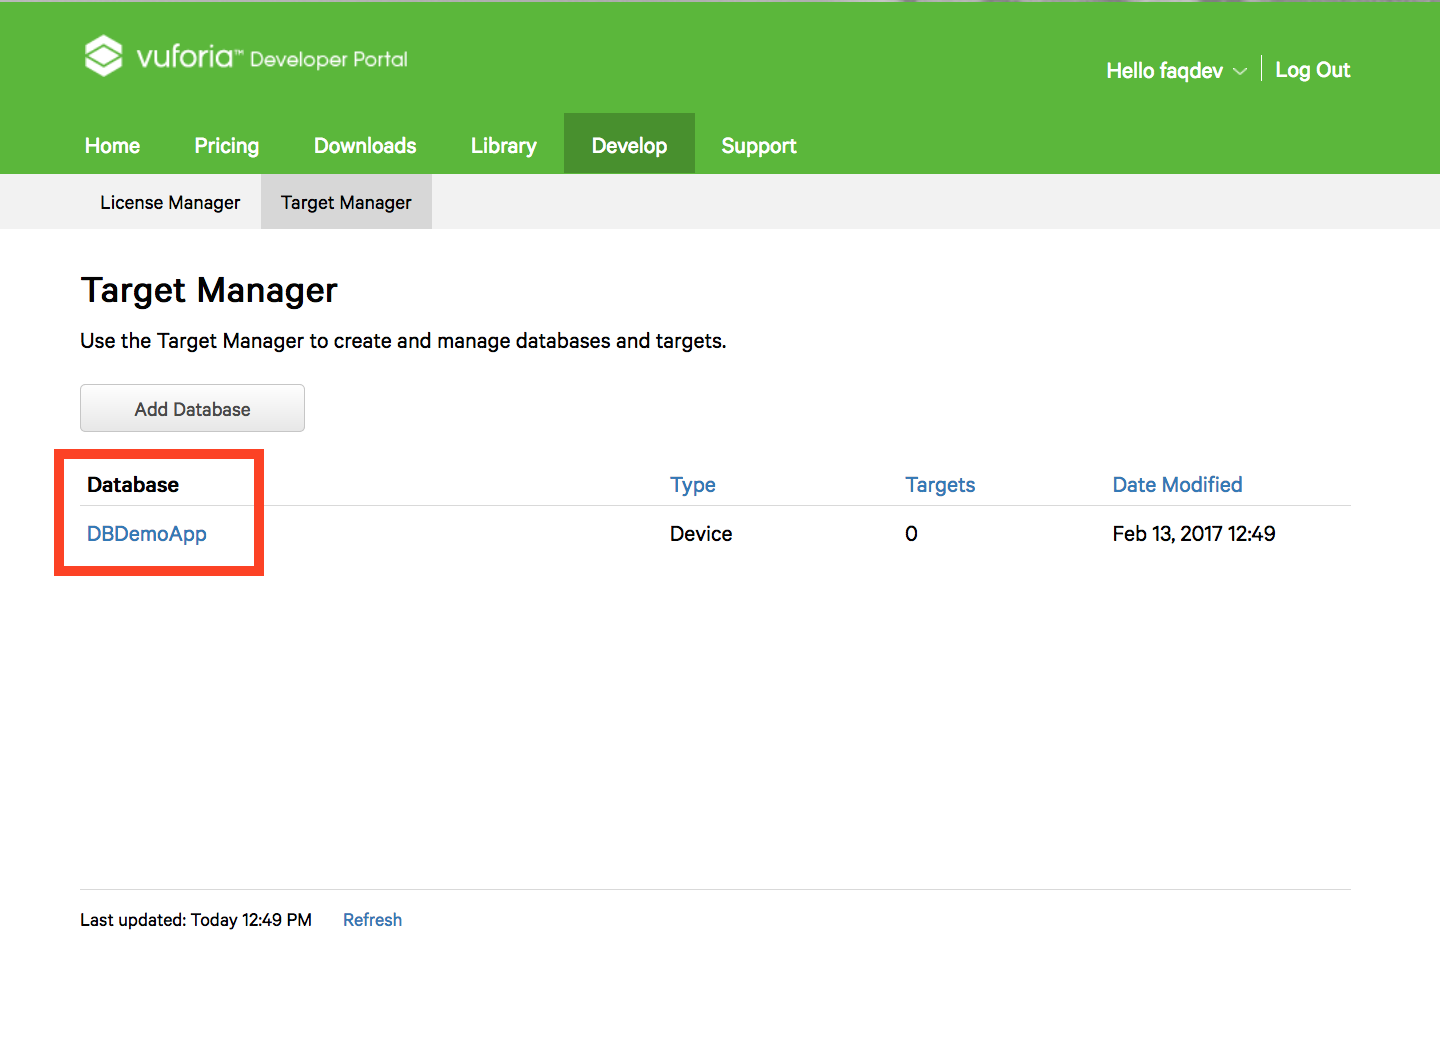
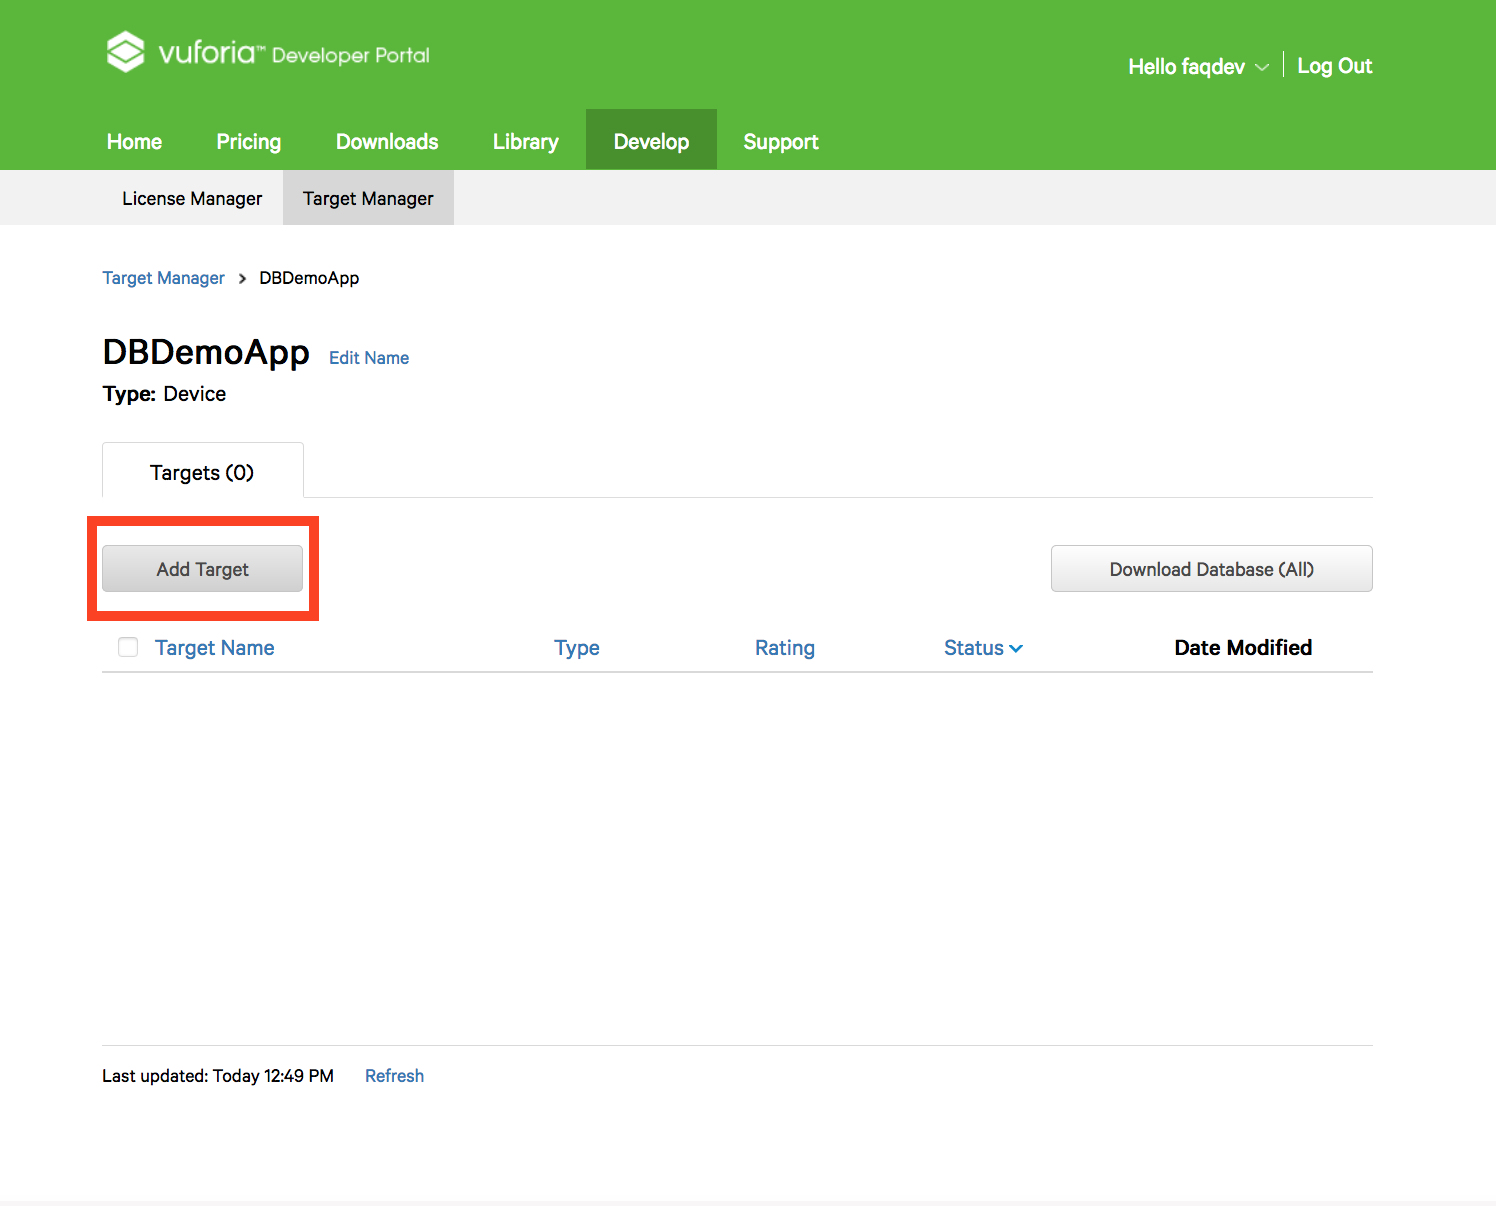
Now click on your Database name under Target Manager section
-
Click on Add Target button. It will open Ad Target dialog box
-
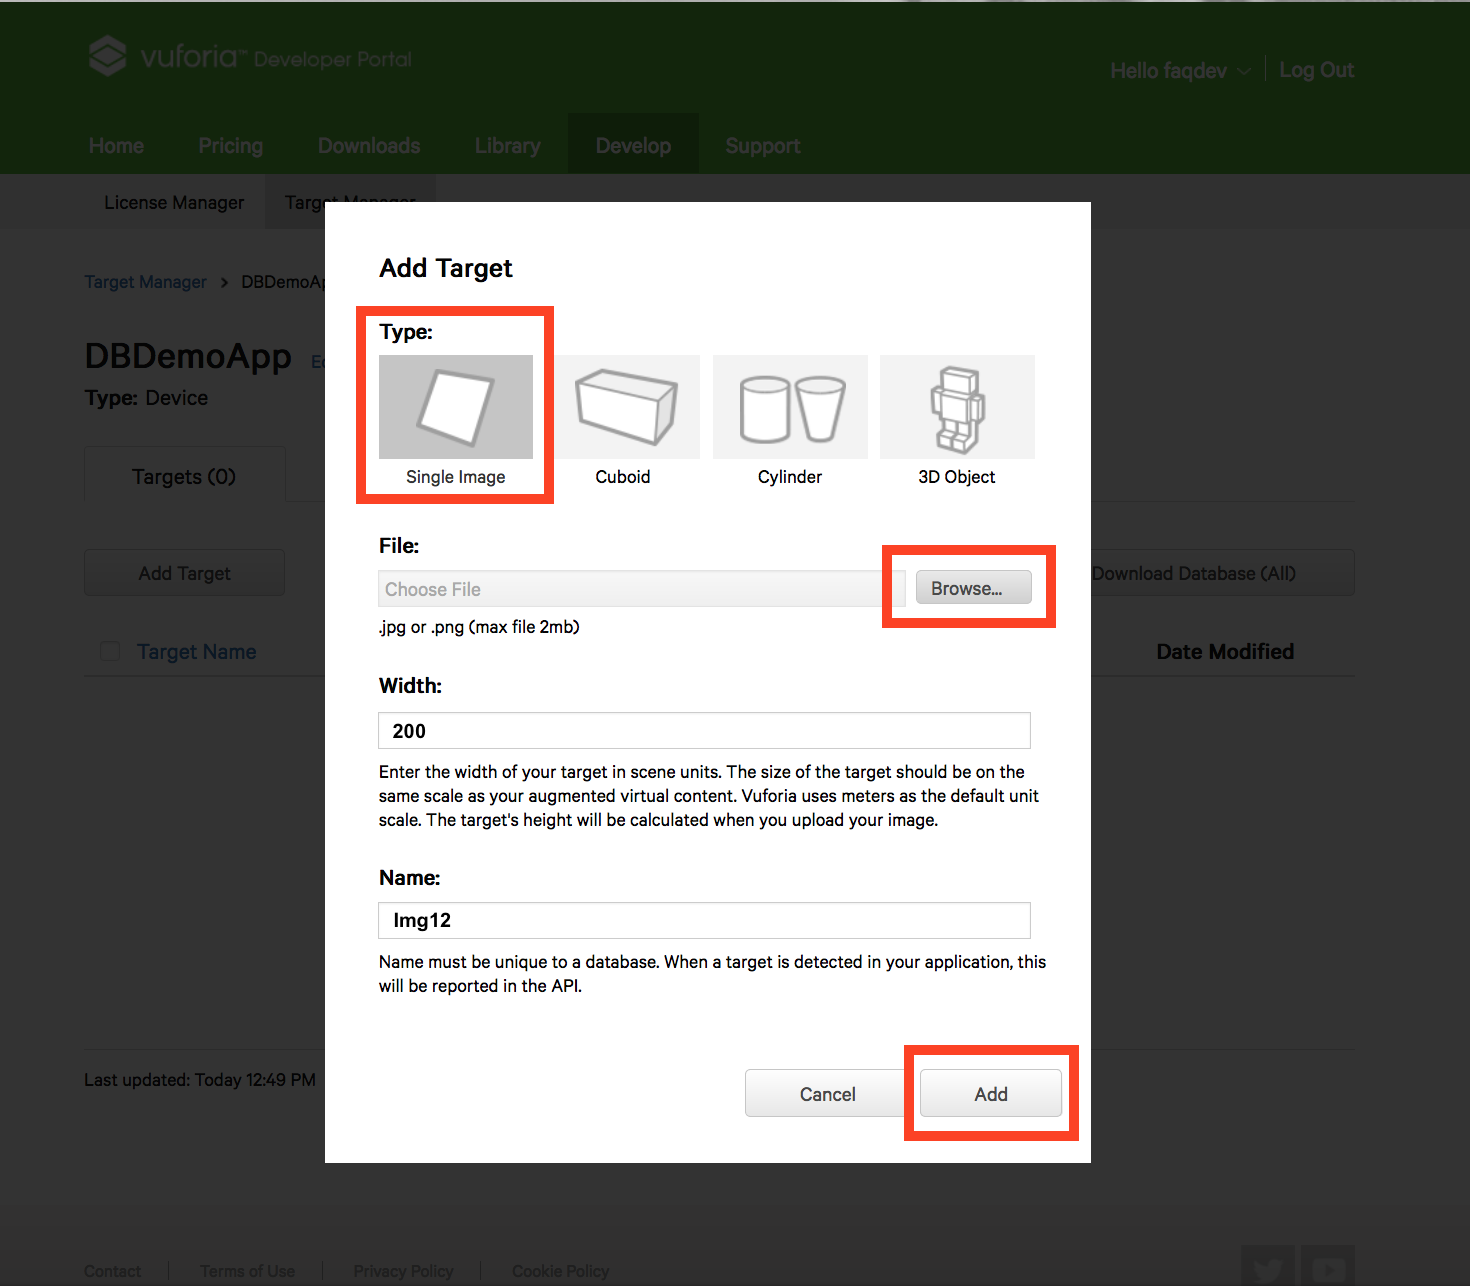
Select Single Image as in Ad type, browse the actual file (width should be 200), and provide a name to your image. Once done, click on Add button
-
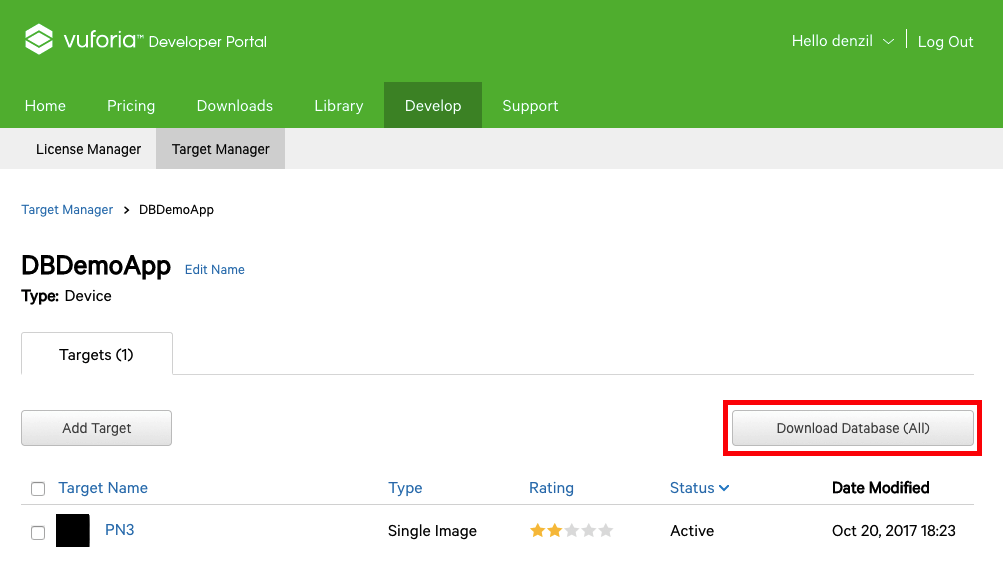
Now click on Download Database button. It will open Download Database dialog box
-
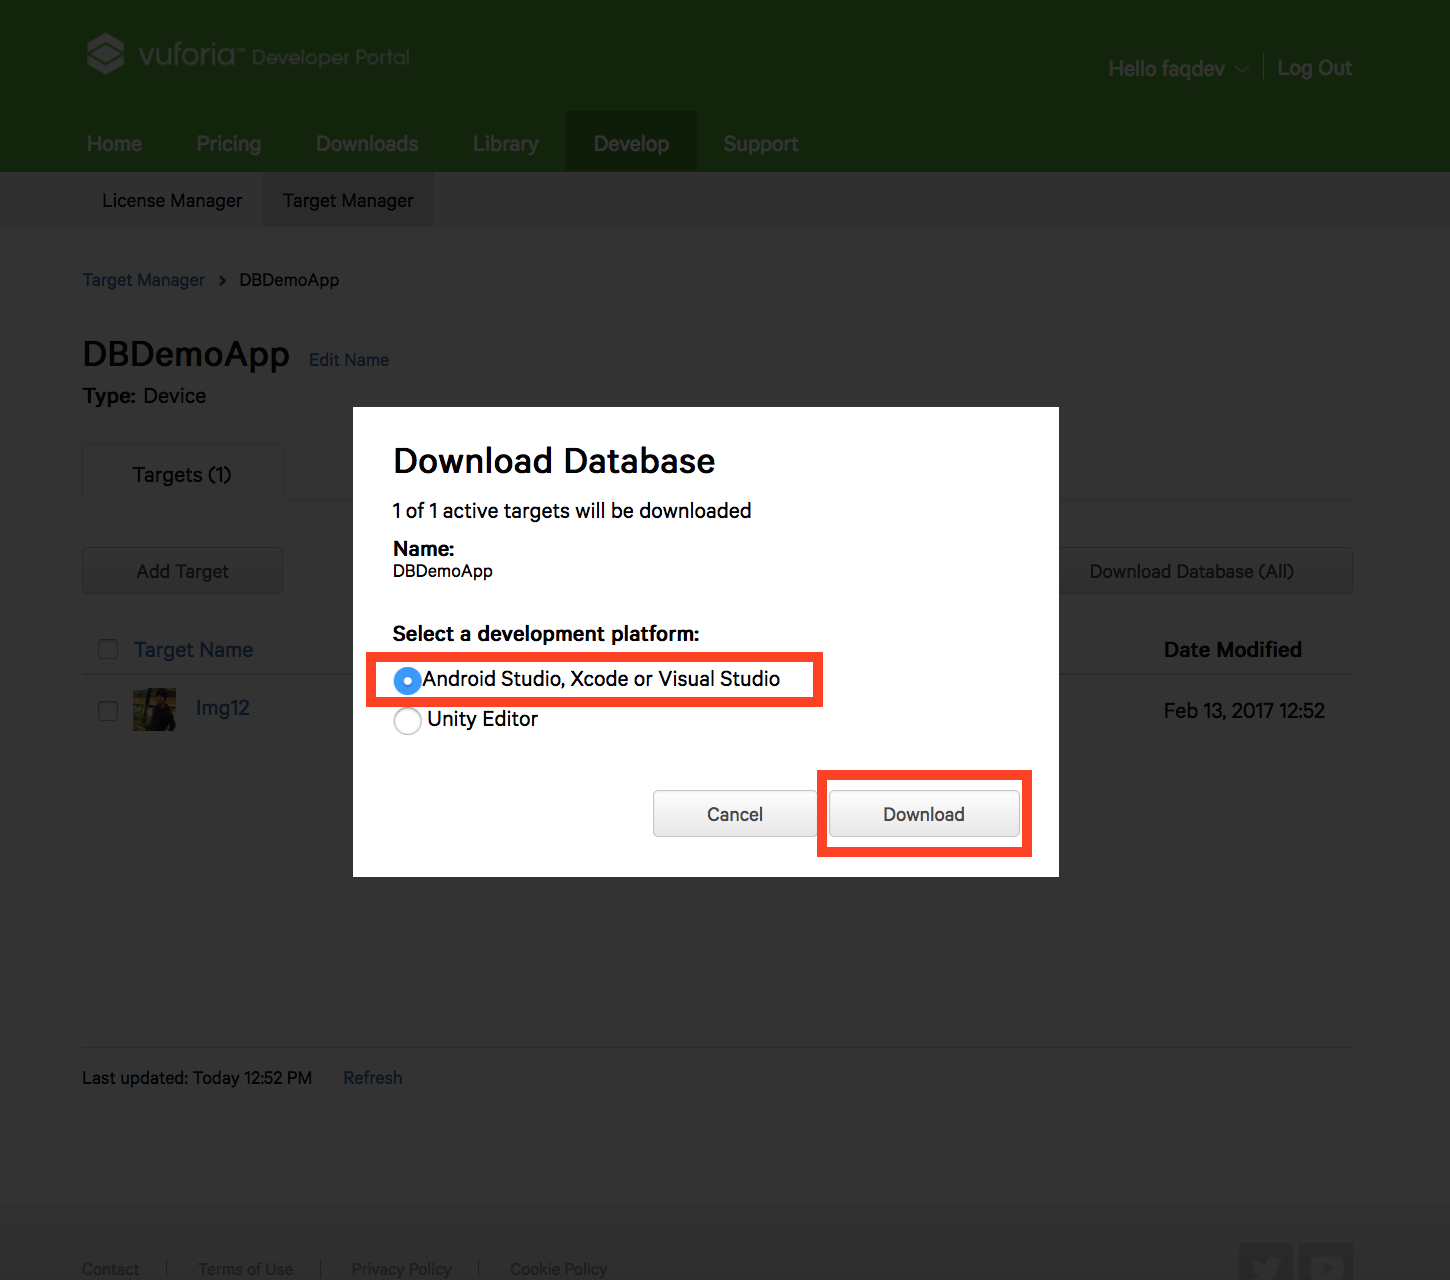
Select Android Studio, Xcode or Visial Studio option, then click on Download button
- Upload this file into Upload Marker field of AR file
- Now select the actions that you want to perform once the AR object is scanned
Disclaimer: All Tessarl users who intend to use the AR feature powered by Vuforia are requested to adhere by Terms of Use set by PTC Inc.(PTC), as mentioned on https://developer.vuforia.com/legal/vuforia-developer-agreement
Cet article a-t-il été utile
Cet article a-t-il été utile
Merci pour vos commentaires!
- S’inscrire
- Se connecter

Bienvenue, Invité!